
Today, over 100,000 businesses use 1Password to save their most sensitive information, including passwords, secure documents, access keys, and secret tokens. 1Password helps businesses secure their teams by making it easy to create and store strong, unique passwords for every account, helping reduce the risk of weak and reused passwords.
While strong passwords can mitigate brute force attacks like dictionary and password spraying, there are other ways attackers and adversaries may try to access your businesses sensitive information. To mitigate this risk, Panther and 1Password have partnered together to help businesses detect unusual activities associated with their user accounts and respond to them in a timely manner. You can learn more about Panther here or watch our video overview.
At the end of this guide, you will learn how to:
Monitor and detect anomalous activities in your 1Password account real-time
Investigate historical log data to assess potential compromise
Deploy Panther with 1Password in your environment
Understanding 1Password Logs
Panther obtains two types of log data from 1Password that is normalized, parsed and analyzed. The first one provides insights into sign-in attempts and the second one captures access/usage/modification of items in shared vaults. With Panther, security teams can monitor their 1Password vaults and detect suspicious activity in real-time
Additionally, Panther can dispatch contextual and informative alerts to destinations such as Slack, PagerDuty etc to alert security teams about a potential compromise. With Panther, defenders can obtain detection coverage for MITRE ATT&CK Credential Access:Credentials from Password Stores.
Panther provides a native integration with 1Password that automatically ingests data from both of these log types.
Sign-in or login attempts: The most notable pieces of information in this log type includes:
Category indicates whether or not the attempt was successful
Type indicates the reason for a successful and fail sign-in attempt
Name and Email provides the name and email address of the user
Client includes operating system information that attempted to sign-in
Items in shared vault: The most notable pieces of information in this log type includes:
Item UUID identifies an item in a vault that was accessed
Vault UUID identifies a specific vault where the access took place
User identifies the user who accessed the item
Client Metadata including IP identifies OS, browser, application version and the IP where the access originated
1Password Detections: Based on Sign-in Data
To detect anomalous activities in 1Password, Panther provides several out-of-the-box detections. For others, where a detection isnt available, we have included a piece of code that security teams can readily use in their environment.
Successful Non-MFA logins
One of the easiest ways to defend against compromised credentials is to add multi-factor authentication (MFA) in all your end-users accounts and require everyone to use MFA before they can access their credentials. However, if an MFA was turned off advertently or inadvertently, security teams can use the rule below to catch non-MFA logins that could be a sign of potential compromise.
Unusual Client Detection
The Unusual Client Detection is used to identify clients that you would not expect to see in your environment. For example: if an organization predominantly uses Windows and Linux but does not use MacOS, then observing an Apple device connecting would be anomalous.
To determine if this is a relevant detection for you, we recommend reviewing the device mix in your environment. Head over to Panther and navigate to the Data Explorer through the sidebar: Data > Data Explorer. From there, the following query can be used to determine the prevalence of clients seen in your environment. With this data, you can modify the allow list to have the clients you wish to be alerted on removed.
Brute-Force logins
In brute-force attacks, an adversary uses trial and error to compromise a user account. To prevent such an attack, security teams can monitor the number of failed login attempts and set a threshold beyond which they can be alerted. This detection effectively provides coverage for MITRE ATT&CK Credential Access:Brute Force. Refer to the Standard Brute Force by IP detection to see how this can be accomplished.
Geographically improbable logins
Another useful method for detecting suspicious logins would be to use a modified version of the Okta Geographically Improbable Login detection. Using this detection, security teams can identify potential compromise by checking the users location at the time of login. By storing the time and geolocation of previous logins, we can effectively calculate the velocity which an individual would have traveled to get from place to place. Generally, if this velocity exceeds the cruising speed of a Boeing 747, then this would be geographically improbable that needs to be investigated further.
1Password Detections: Based on Item Usage
For many engineering teams, it is common practice to use a password manager to store and share credentials used in development and production environments. While it is important to ensure these are properly secured, some pose significantly higher risk/impact if misused than others. By enumerating the more sensitive items, practitioners can monitor access to these items within Panther. Common examples of highly sensitive items include: credentials to publishing code (e.g. PyPi, NPM), logins for root AWS accounts, and access to production servers.
There are two versions of the sensitive items detection:
To configure the Direct UUID Monitoring detection, simply add the UUIDs of the credentials to be monitored to the SENSITIVE_ITEM_WATCHLIST variable. To use the Lookup Table UUID Mapping detection, the integration between Panther and 1Password needs to be set up. For details on how to set this up, see the Guide for Lookup Table Route section below. Once the integration is set up, simply add the names of the credentials to be monitored to the SENSITIVE_ITEM_WATCHLIST variable.
An advanced form of this detection would be to modify this detection to track specific user access to sensitive credentials used in production such as access keys, automation accounts, secret tokens, etc. that should typically be accessed by various automation services and CI/CD workflows. To accomplish this, copy the detection and modify it to alert whenever an unexpected user accesses a set of credentials.
For insights into any of these detections or to learn about how to create and modify detections for your environment, reach out to us.
Beyond Detections
While Panther detections provide a powerful method for monitoring your environment, security practitioners conducting threat hunting exercises will often be required to investigate historical data. The Data Explorer page in Panther can be used to query historical 1Password logs allowing organizations to store and query 1Password historical data upto a year within seconds.
Lets consider an example: In the event of an insider threat or when a disgruntled employee has been let go, practitioners can review all the credentials that the employee previously accessed. This is typically done to gather a list of credentials that may need to be rotated. Below is a sample query to see all of the credentials that a user has accessed in 1Password.
Similarly, if a set of credentials have been leaked then it may be useful to determine who had previously accessed those credentials. Below is a query to see all of the users that have accessed a particular item.
While simple, this powerful method for querying data can be easily transformed into a more advanced detection via Scheduled Queries. This class of detections adds a powerful new threat detection model enabling security teams to retrospectively analyze and alert on all of their log data to detect advanced threats.
Scheduled Queries empower defenders to go beyond the limitations of a detection designed to run on a single log type and detect complex behavior spanning multiple log types. Suppose there are credentials for an AWS root account stored in 1Password. While it may be valuable to alert on access to these credentials, it would be more useful to correlate this access with AWS CloudTrail logs to alert on the actual attempts to use the credentials.
Setting up Panther with 1Password
Onboarding 1Password logs into Panther is simple and easy. To get started:
Create a new API token in 1Password
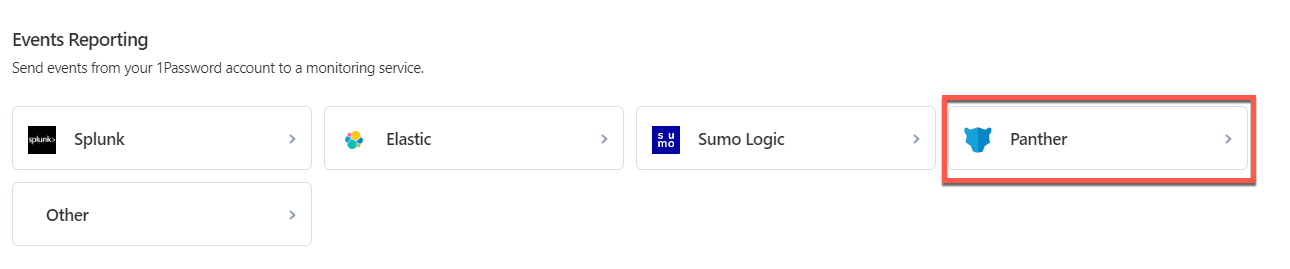
Navigate to Integrations > Directory > Events Reporting and select Panther
Enter the API token in the Panther 1Password log source setup
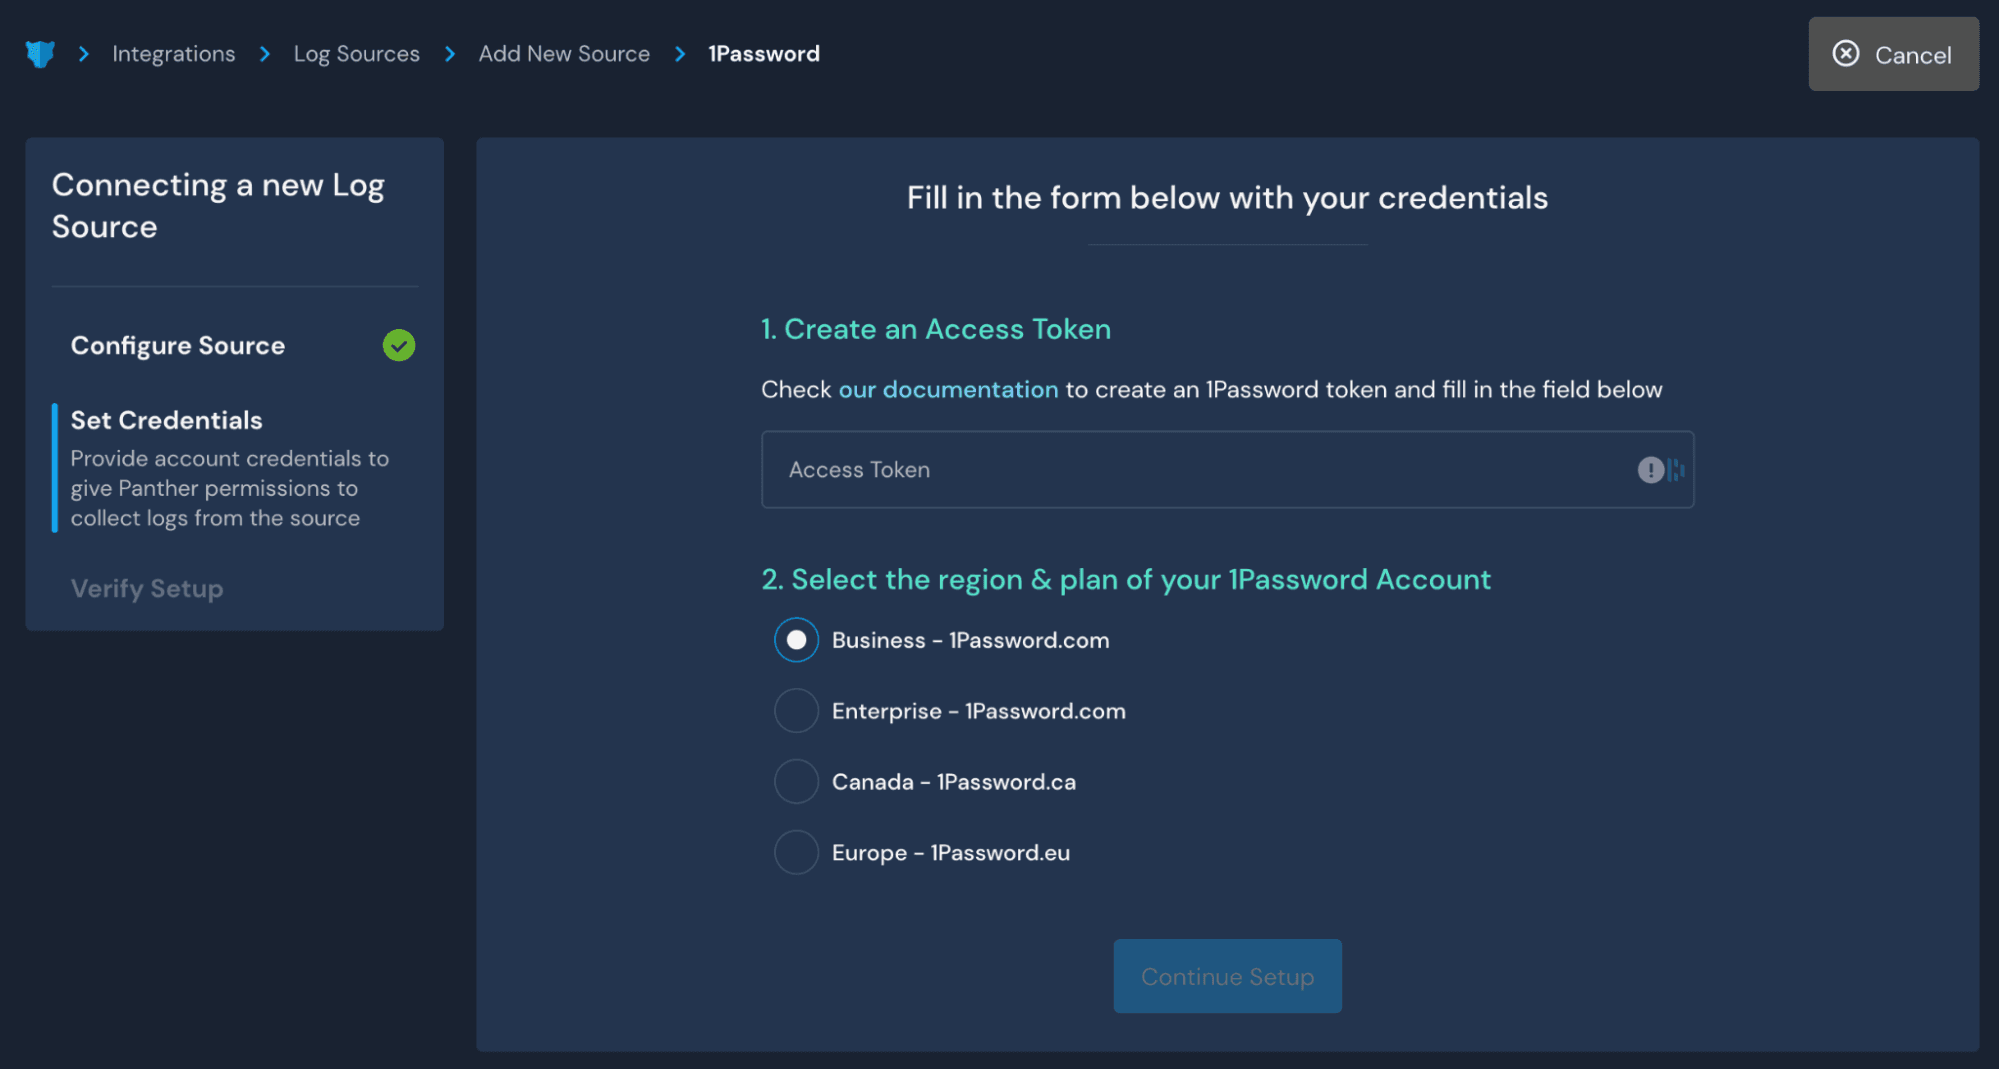
Panther will parse, normalize, and analyze 1Password data in real-time. When the detections and rules mentioned above are triggered, alerts are sent to your configured destinations. See Documentation for 1Password Log Source Setup for more details
Guide for Lookup Table Route
Credentials are referenced in the 1Password logs by their UUID and not their respective names as those names are subject to change over time. Lookup Tables provide a powerful and flexible way to enrich detections and alert workflows with custom context. In order to get the human readable names synced between Panther and 1Password, see Documentation for 1Password Lookup Tables Setup.
Get Started
In addition to 1Password, Panther can analyze log data from hundreds of systems including AWS, GCP, O365, G Suite, Crowdstrike, OSquery and more. Check out a list of all our supported integrations. Follow our Quick Start Community guide to get started with Panther or contact us for a demo. Additionally, if your organization is looking for a secure way to better manage passwords and other sensitive information, Panther customers will receive a 25% discount for their 1st year of 1Password using this link.